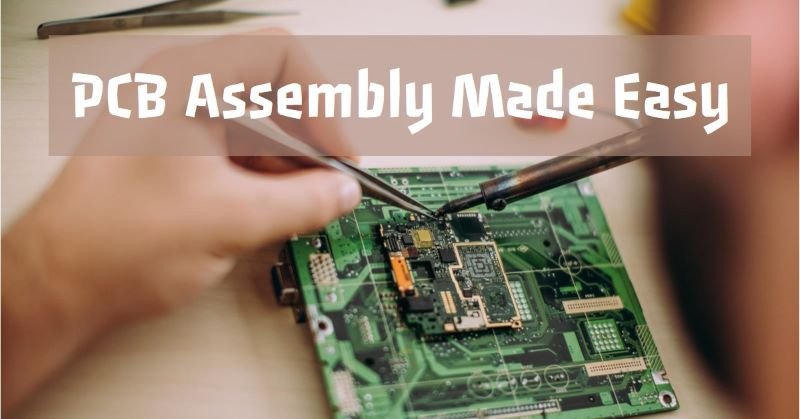
How to Solder – A Comprehensive Guide to Good Soldering
Soldering is a valuable skill that opens up a world of possibilities for DIY projects and repairs. With the right equipment, proper technique and a little bit of practice, you’ll be able to create strong and reliable soldered connections. Remember to choose high-quality solder and flux, prepare your components properly and follow the steps outlined in this guide. In this blog post, we will guide you through the steps of soldering a wire to a pad, ensuring that you achieve a strong and durable bond. Let’s start with what exactly is Soldering!
What is Soldering?
Soldering is a technique used to join two or more metal components together using a filler metal called solder. The solder is melted and then allowed to cool, creating a strong and permanent bond between the components. Soldering is commonly used in electronics to connect wires, circuit boards and components.
Choosing the Right Soldering Equipment
Before you start soldering, it’s important to have the right equipment. Here are the key tools you’ll need:
Soldering Iron
A soldering iron is the main tool used in soldering. It consists of a heated metal tip that melts the solder. When choosing a soldering iron, consider the wattage, temperature control, and tip size. Higher wattage soldering irons are better for larger projects, while lower wattage irons are suitable for smaller, more delicate work.
Solder
There are various types of solder available, such as lead-based and lead-free solder. The type of solder you choose depends on your project and any applicable regulations. It’s important to use high-quality solder to ensure a reliable and durable connection.
Flux
Flux is a chemical compound used to clean and prepare the surfaces to be soldered. It helps remove oxidation and improves the flow of solder. Flux is available in liquid or paste form. Apply a small amount of flux to the joint before soldering for optimal results.
Soldering Stand
A soldering stand is used to hold the soldering iron when not in use. It provides a safe and stable place to rest the hot iron, reducing the risk of accidents or damage to your work surface.
Other Tools
Additional tools that can be useful include soldering wire, soldering fume extractor, soldering sponge and wire cutters/strippers. These tools will make your soldering process easier and more efficient.
A Step-by-Step Guide to Soldering a Wire to a Pad
Now that you have all the necessary materials, let’s go through the step-by-step process of soldering a wire to a pad:
Step 1: Prepare the Wire and Pad
Start by preparing the wire and the pad for soldering. Use wire strippers to remove a small section of insulation from the end of the wire. Make sure to expose enough bare wire for a secure connection. Similarly, ensure that the pad on the circuit board is clean and free from any debris or oxidation. You can use a small brush or a cotton swab with some isopropyl alcohol to clean the pad if needed.
Step 2: Apply Flux
Flux is essential for a successful soldering process. It helps to remove any oxidation and ensures good solder flow. Apply a small amount of flux to the pad using a flux pen or a brush. Be sure not to apply too much flux, as it can cause solder bridges or other issues.
Step 3: Heat the Pad
Now it’s time to heat the pad using the soldering iron. Hold the iron tip against the pad for a few seconds until it reaches the desired temperature. The tip should be clean and tinned with solder for optimal heat transfer. Heating the pad will help the solder flow smoothly and create a strong bond.
Step 4: Tin the Wire
Tinning the wire involves applying a thin layer of solder to the exposed wire. This step helps to improve conductivity and makes the soldering process easier. Hold the soldering iron against the wire and touch the solder to the wire’s surface. The solder should melt and coat the wire evenly. Be careful not to apply too much solder, as it can create a bulky connection.
Step 5: Join the Wire and Pad
With the wire and pad prepared, it’s time to join them together. Place the tinned wire onto the heated pad, ensuring that they align properly. Hold the wire in place with a pair of helping hands or a small clamp, if necessary. Then, bring the soldering iron tip to the junction of the wire and pad. Apply heat to the junction and touch the solder to the heated area. The solder should melt and flow around the wire and pad, creating a secure connection. Hold the soldering iron in place for a few seconds to allow the solder to solidify.
Step 6: Inspect and Clean
Once the solder has solidified, inspect the connection to ensure it is clean and free from any defects. Look for any solder bridges, cold joints, or other issues that may affect the connection’s reliability. If necessary, you can use a soldering iron with a desoldering pump or desoldering wick to remove any excess solder or correct any mistakes. Finally, clean the soldered area with isopropyl alcohol and a brush to remove any flux residue.
Tips for Successful Soldering
Here are some additional tips to help you achieve good soldering results:
Practice Makes Perfect
Soldering is a skill that improves with practice. Start with simple projects and gradually work your way up to more complex ones. Don’t be discouraged if your first attempts aren’t perfect – keep practicing, and you’ll get better over time.
Use the Right Amount of Heat
Applying too much heat can damage the components or create cold solder joints, while insufficient heat won’t create a strong bond. Find the right balance by adjusting the temperature of your soldering iron and the duration of heat applied to the joint.
Avoid Excessive Solder
Using too much solder can create messy joints and increase the risk of short circuits. Use just enough solder to form a smooth, shiny fillet around the joint. Excess solder can be removed using desoldering tools if necessary.
Keep Your Workspace Clean
A clean workspace is essential for successful soldering. Remove any clutter, ensure good lighting, and keep your tools organized. This will help you work more efficiently and reduce the risk of accidents.
Conclusion
In conclusion, Soldering a wire to a pad is a fundamental skill in electronics. By following the step-by-step guide outlined in this blog post, you can create secure and reliable connections for your electronic projects. Remember to always prioritize safety and take necessary precautions while soldering. With practice and patience, you’ll become proficient in soldering and be able to tackle more complex projects in the future.