Exploring the Arduino Opla IoT Kit: A Comprehensive Introduction
Introduction
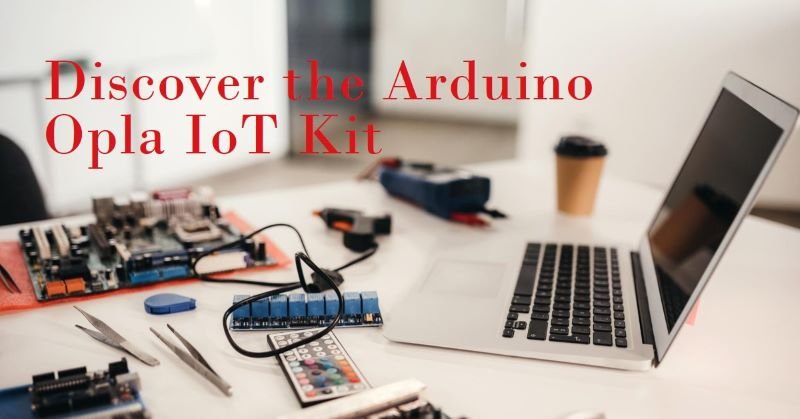
The Arduino Oplà IoT Kit serves as an excellent entry point into the world of Internet of Things (IoT) projects. This introductory project showcases the hardware capabilities of the kit, guiding users through a basic activity that highlights the components and their functionalities. Completing this activity lays a solid foundation for diving into more complex projects later on.
Assembly
To get started, you only need the Arduino MKR WiFi 1010 board and the MKR IoT Carrier, with no external sensors required. Simply mount the Arduino MKR WiFi 1010 on the MKR IoT Carrier and connect it to your computer. Ensure the board is oriented correctly by matching the pin numbers on the board and the carrier.
Getting to Know the Kit
The Brain of the Kit: Arduino MKR WiFi 1010
At the heart of the Arduino Oplà IoT Kit is the Arduino MKR WiFi 1010 board. This microcontroller features a chip that enables wireless Wi-Fi or Bluetooth connections to other boards or computers. The MKR WiFi 1010, a member of the MKR family of boards, is distinguished by its unique form factor. The MKR family shares a common pinout, allowing easy connectivity with the MKR IoT Carrier.
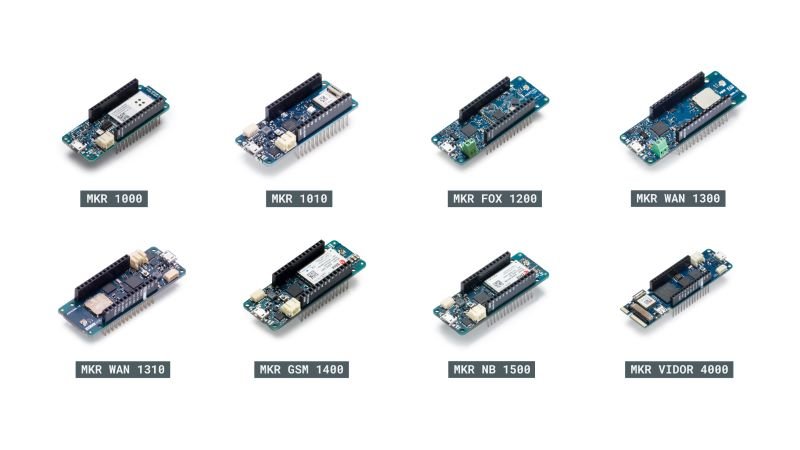
Although this kit primarily uses the MKR WiFi 1010 board, it’s worth exploring other boards in the MKR family, such as the Arduino MKR WAN 1310 (LoRa), Arduino MKR GSM 1400 (GSM), or Arduino MKR FOX 1200 (Sigfox). For more information, visit the MKR family page.
The MKR IoT Carrier
The MKR IoT Carrier acts as an extension of the Arduino MKR WiFi 1010 board, which does not have a built-in microcontroller and only functions when connected to an Arduino board. This setup unlocks numerous features, including sensors and circuits that simplify reading temperature, playing sounds, flashing lights, or displaying information. The carrier’s pre-built components save time, allowing you to focus on programming and creating unique applications.
Configuring the Project
To get started, upload the provided code and follow the step-by-step instructions displayed on the MKR IoT Carrier. These instructions will guide you through:
- The touch buttons
- Temperature, humidity, and barometric pressure sensors
- The 6-axis IMU motion sensor
- The color detection sensor
- The gesture sensor
- The two relays
Conclusion
The Arduino Oplà IoT Kit is a powerful tool for exploring the potential of IoT projects. This introductory project is an excellent starting point, offering a hands-on experience with the kit’s components and their functionalities. By completing this activity, you’ll be well-prepared to tackle more advanced projects and unleash your creativity in the world of IoT.