Getting Started with Night Light Sensor Dark Detector
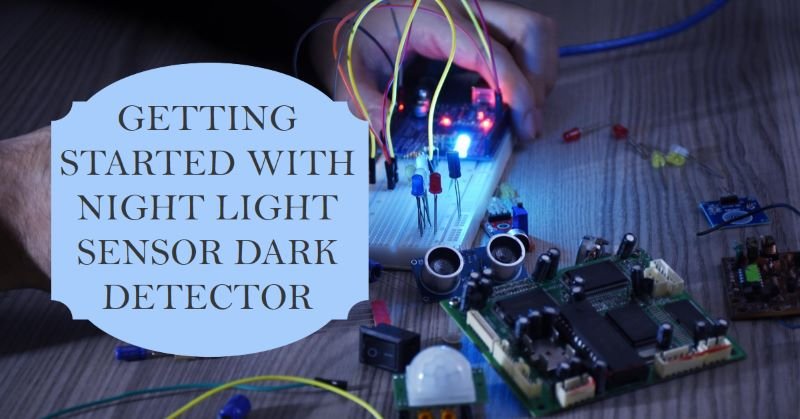
In this blog post, we will make a project on Night Light Sensor Dark Detector project. Let’s role to Intro!
Introduction
A darkness detector, also known as a dark detector. It is a circuit designed to detect the absence of light. Utilizing basic components such as Light Dependent Resistors (LDRs) and 555 timer ICs, we can create a variety of night light sensor dark detector electronics projects. This article will explain the fundamental principles behind these circuits and guide you through the process of building your own dark sensor.
Hardware Components Required
To build a Night Light dark detector, you will need the following components:
| Components | Value | Qty |
|---|---|---|
| LDR | 1 | |
| Transistor | BC547 | 2 |
| Potentiometer | 10KΩ | 1 |
| Buzzer | 1 | |
| Resistor | 100Ω, 1K | 1 |
| Diode | 1N4007 | 1 |
| Battery | 9v | 1 |
| LED | 1 | |
| Relay | 5v | 1 |
Working Explanation

The key component in this circuit is the Light Dependent Resistor (LDR). The LDR’s resistance varies with the intensity of light it is exposed to. Here’s how the circuit operates:
- LDR Functionality:
- In Light: Under normal lighting conditions, the LDR has low resistance, allowing minimal current to flow through the circuit. This high resistance prevents the activation of the circuit.
- In Darkness: When the surroundings are dark, the LDR’s resistance significantly decreases, permitting more current to flow.
- Circuit Activation:
- The decreased resistance in the LDR allows current to flow, which then activates the first transistor in the circuit.
- The first transistor acts as a switch, controlling the flow of current to the second transistor.
- The activation signal from the first transistor turns on the second transistor.
- Relay Activation:
- The second transistor’s collector sends an output signal to the relay coil.
- The energized relay coil switches the relay on, completing the circuit and powering the connected load (such as a light bulb or LED).
This process ensures that the circuit detects darkness and activates a light source, making it a practical night light sensor.
Step-by-Step Instructions
- Set Up the LDR:
- Connect the LDR to the power supply and to the base of the first transistor via a current-limiting resistor.
- First Transistor Stage:
- Connect the emitter of the first transistor to ground.
- Connect the collector to the base of the second transistor through a resistor.
- Second Transistor Stage:
- Connect the emitter of the second transistor to ground.
- Connect the collector to one end of the relay coil.
- Connect the other end of the relay coil to the positive power supply.
- Power and Load Connection:
- Connect the power supply to the circuit.
- Attach the load (e.g., an LED or light bulb) to the relay’s normally open (NO) and common (COM) terminals.
- Testing:
- Place the circuit in a well-lit area and observe that the load remains off.
- Cover the LDR to simulate darkness and observe that the load (light source) turns on.
This basic setup can be expanded and modified to include additional features, such as adjustable sensitivity and time delay using a 555 timer IC. The principles remain the same: the LDR senses light levels, and the circuit responds accordingly to control a light source.
Final Words
Creating a night light sensor dark detector is a straightforward and educational project that introduces fundamental concepts of electronics, such as the use of LDRs, transistors, and relays. With these basic components, you can design and build a variety of dark sensors to suit different applications, enhancing your understanding and skills in electronics projects.


