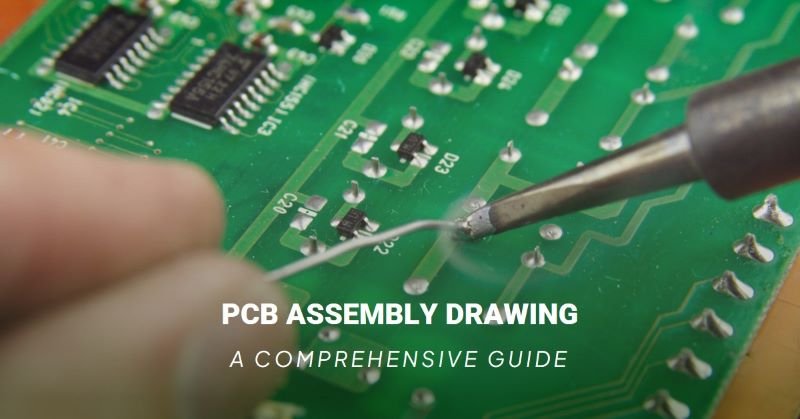
A Quick Intro Guide to the PCB Assembly Process
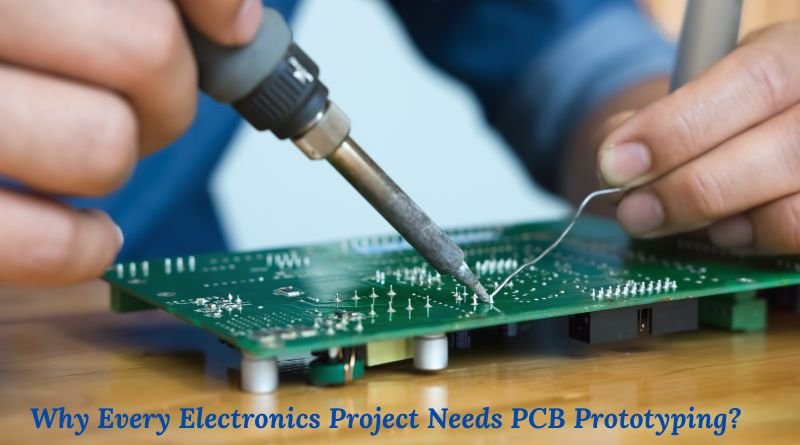
Circuit board prototyping is a complex and intricate process, crucial for anyone looking to develop their skills in creating prototype printed circuit boards (PCBs). Among the various stages in the development of a PCB assembly is arguably one of the most critical. Without proper assembly, even the most well-designed board will fail to function. This guide provides an overview of the PCB assembly process focusing on the use of Surface Mount Technology (SMT).
The PCB Assembly Process
Here we will see the step-by-step process of pcb assembling:
Step 1: Solder Paste Application
The first step in PCB assembly involves applying a layer of solder paste to the component pads on the board. This is done using a solder screen, which is placed over the board. The engineer squeezes small amounts of solder paste through the holes in the screen, ensuring that the paste only touches the component pads. This step is crucial as the exact same amount of solder must be applied to each pad to ensure proper component placement and soldering.
Step 2: Pick and Place
Once the solder paste is applied and dried, the next step is to place the components onto the PCB. This is done using a pick and place machine, which accurately positions each component onto the board. The tension from the solder paste holds the components in place. In some cases, small dots of glue are also used to provide additional security.
Step 3: Soldering
After all the components are placed, the board is then passed through a soldering machine. This machine heats the solder paste, causing it to melt and form a solid solder joint between the component leads and the pads on the PCB. This step ensures that the components are securely attached to the board.
Step 4: Inspection
Inspection is a critical step in the PCB assembly process. The engineer manually examines each board to ensure that all joints and components are correctly placed and functioning properly. This step helps to identify any defects or issues that may have occurred during the assembly process.
Step 5: Testing
The final step is testing the assembled PCB. This involves powering up the board and running various tests to ensure that it functions as intended. Testing helps to identify any functional issues and ensures that the board is ready for use.
Conclusion
With these steps in mind, you are well on your way to creating an impressive prototype circuit board. Understanding and mastering the PCB assembly process is essential for anyone looking to develop their skills in PCB prototyping. By following these guidelines, you can ensure that your boards are properly assembled and ready to perform their intended functions.